Where to find Puzzle 120?
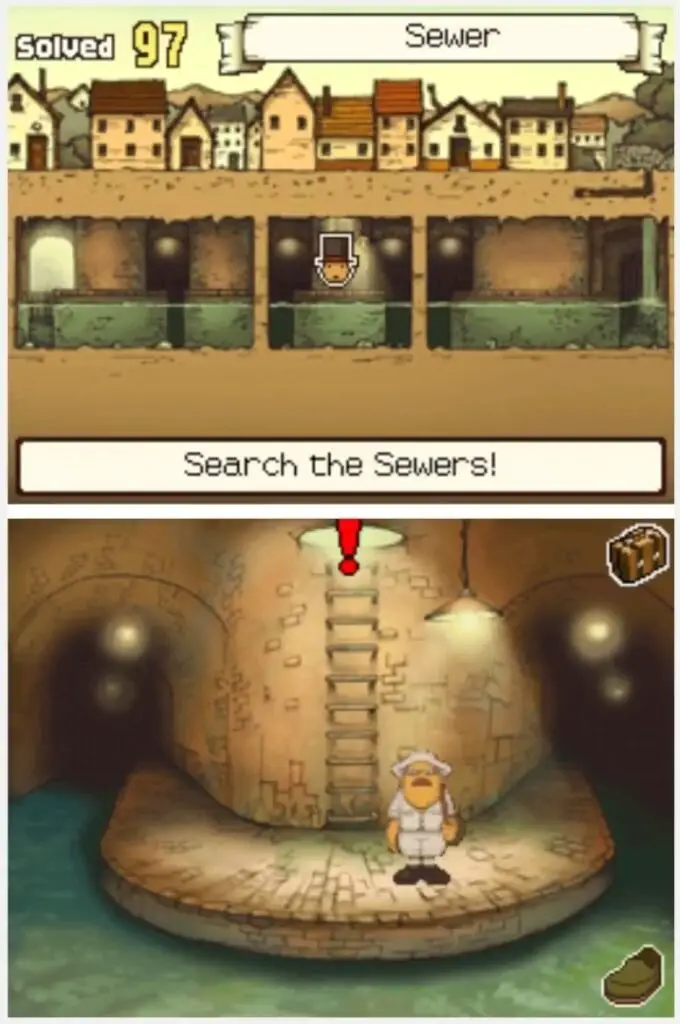
Puzzle 120 – Get the Ball Out! 3 is found by interacting with the open sewer grate in the Sewer.
How many picarats is Puzzle 120 worth?
Puzzle 120 is worth 60 picarats.
How to solve Puzzle 120?
Puzzle 120 is the third iteration of the Get the Ball Out! series of puzzles.
You will need to get the red ball to the exit hole by moving different sized blocks around with limited space.
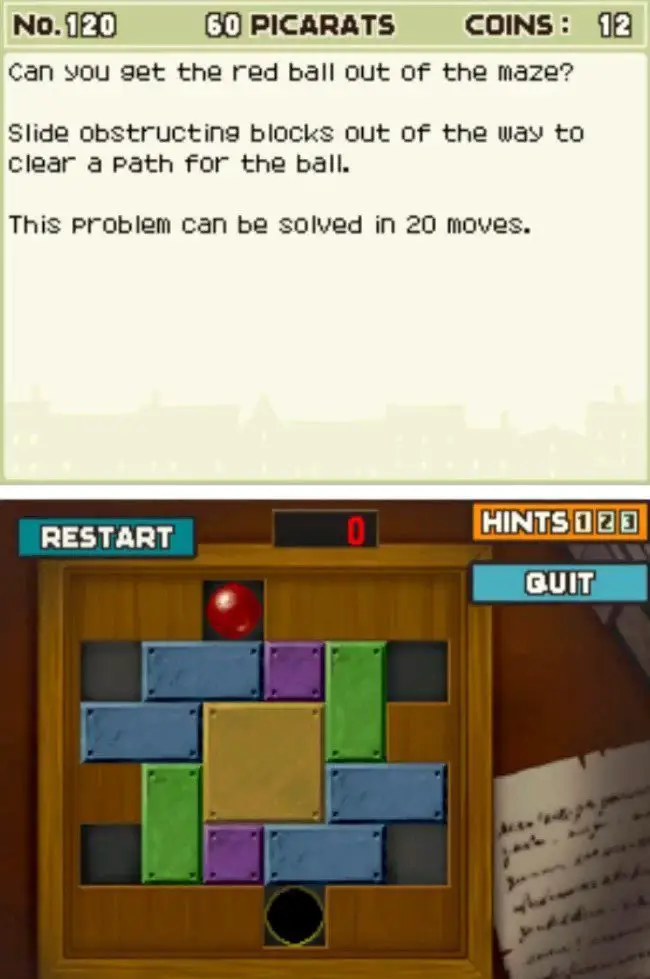
Can you get the red ball out of the maze?
Slide obstructing blocks out of the way to clear a path for the ball.
This problem can be solved in 20 moves.
What are the hints for Puzzle 120?
Hint 1
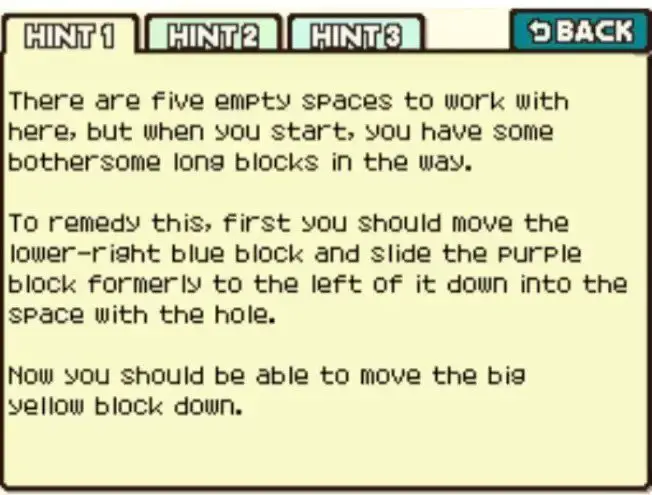
There are five empty spaces to work with here, but when you start, you have some bothersome long blocks in the way.
To remedy this, first you should move the lower-right blue block and slide the purple block formerly to the left of it down into the space with the hole.
Now you should be able to move the big yellow block down.
Hint 2
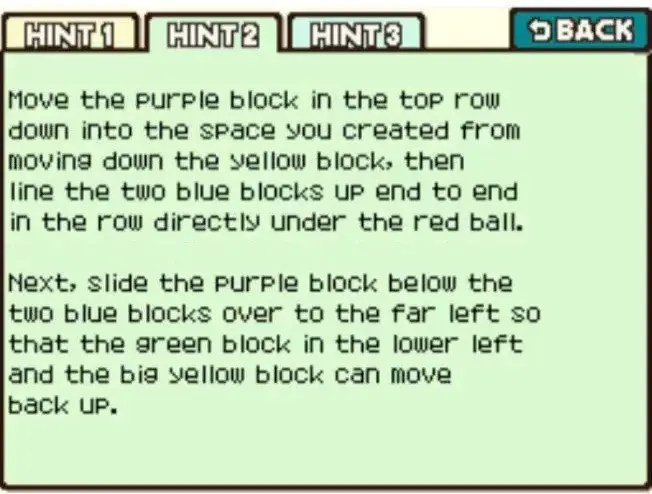
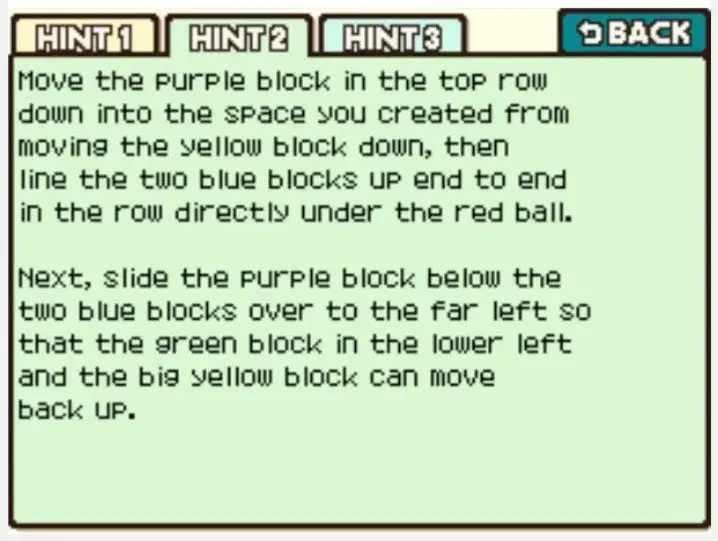
Move the purple block in the top row down into the space you created from moving down the yellow, then line the two blue blocks up end to end in the row directly under the red ball.
Next, slide the purple block below the two blue blocks over to the far left so that the green block in the lower left and the big yellow block can move back up.
Hint 3
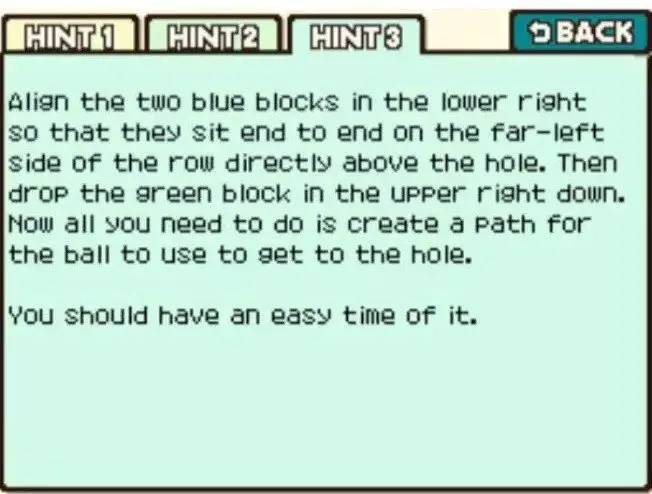
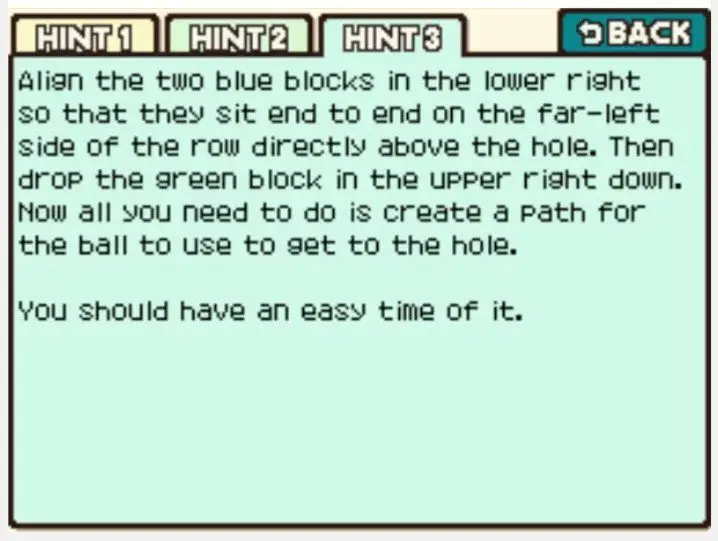
Align the two blue blocks in the lower right so that they sit end to end on the far-left side of the row directly above the hole. Then drop the green block in the upper right down. Now all you need to do is create a path for the ball to use to get to the hole.
You should have an easy time of it.
Puzzle 120 Answer
Step 1
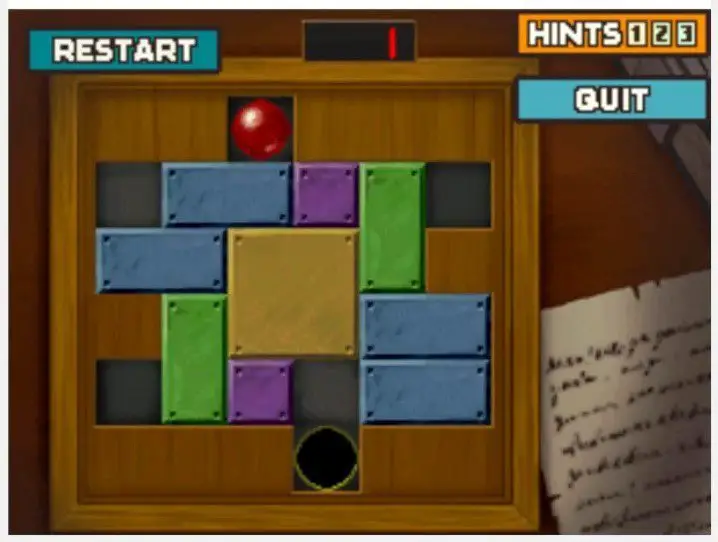
Move the blue block on the bottom row to the right.
Step 2
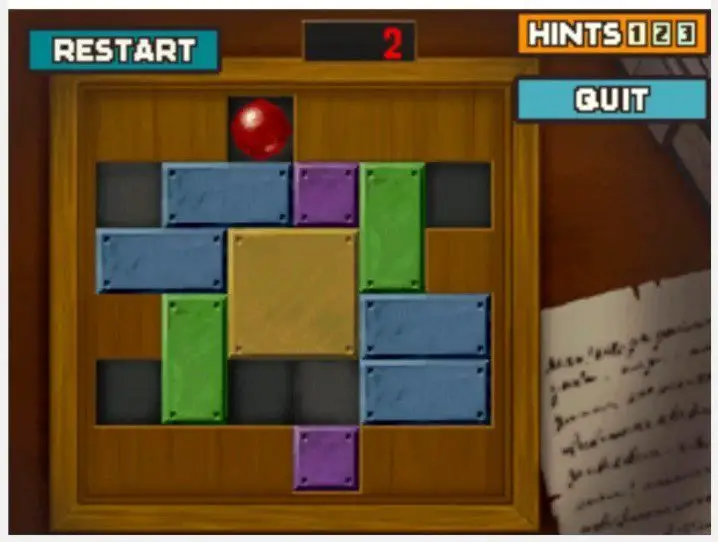
Move the purple block on the bottom row into the exit hole square.
Step 3
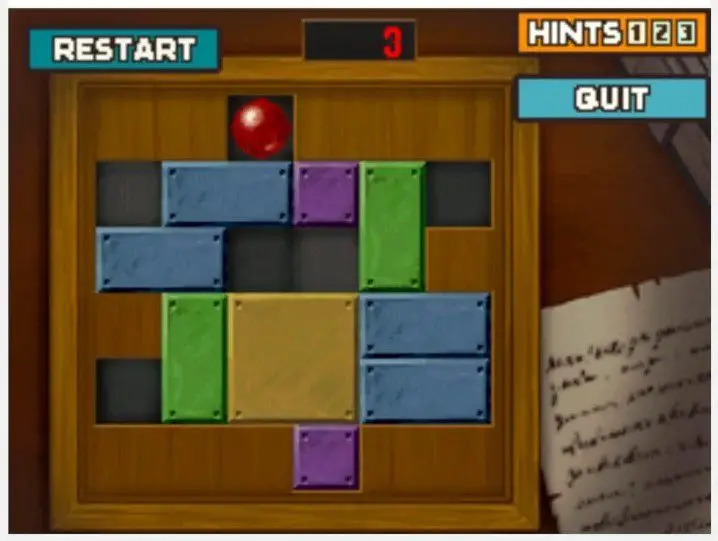
Move the yellow block down.
Step 4
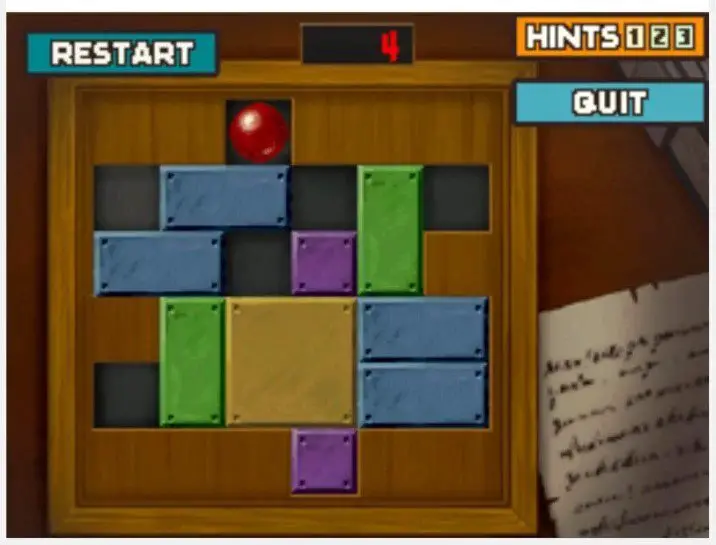
Move the purple block from the top row down.
Step 5
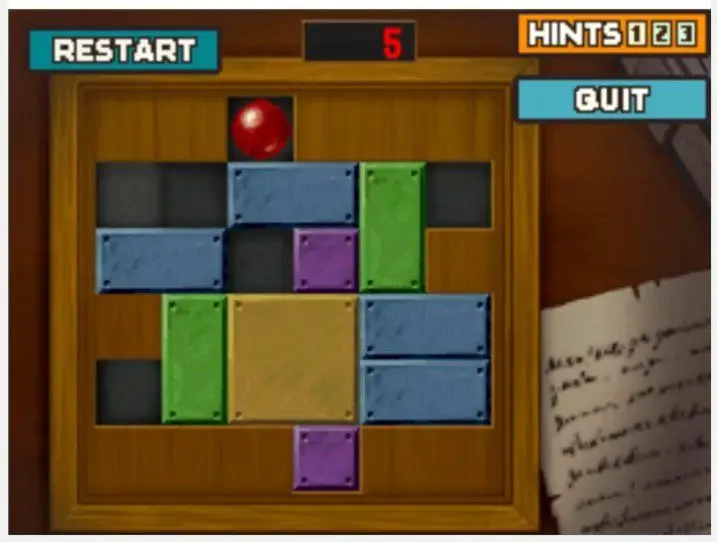
Move the blue block on the top row to the right.
Step 6
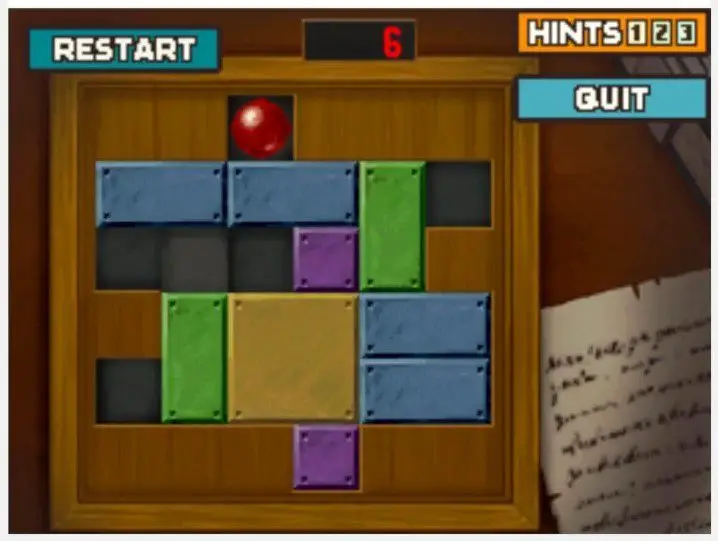
Move the blue block on the second row upwards.
Step 7
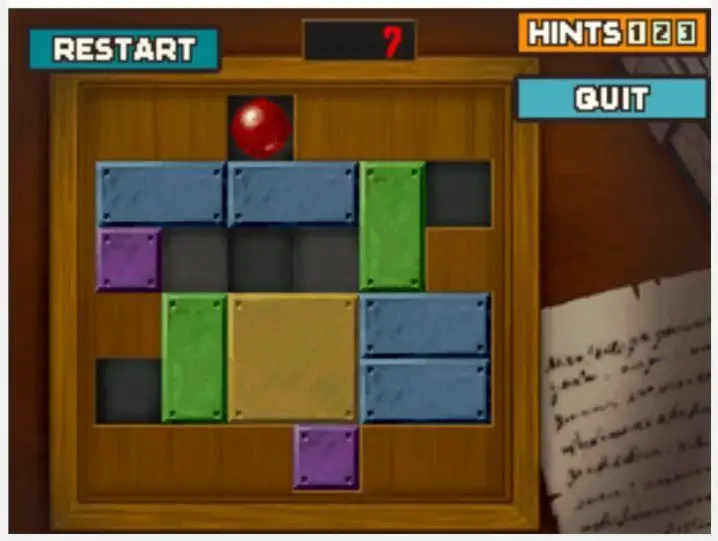
Move the purple block on the second row all the way to the left.
Step 8
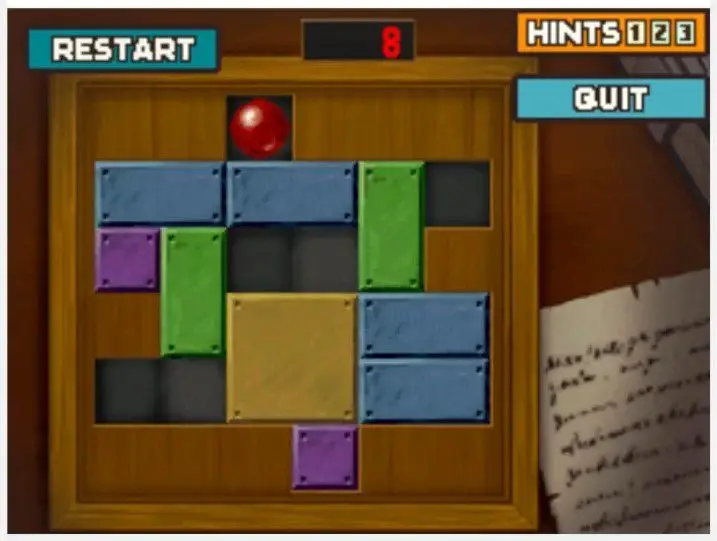
Move the left-most green block up.
Step 9
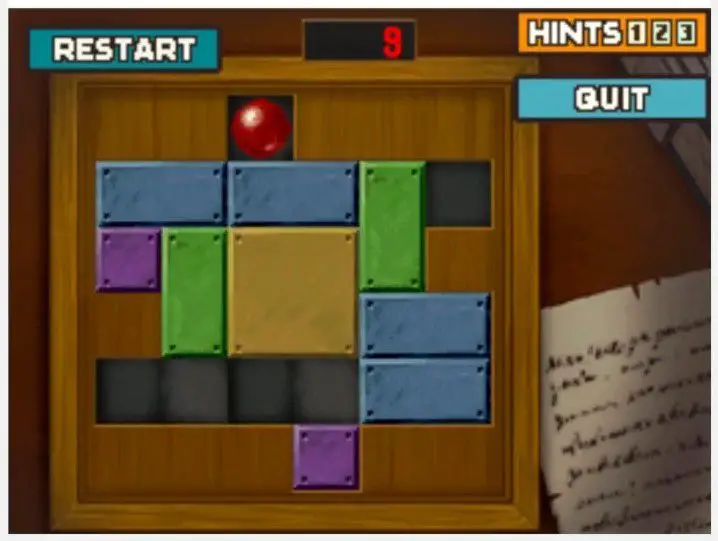
Move the yellow block up.
Step 10
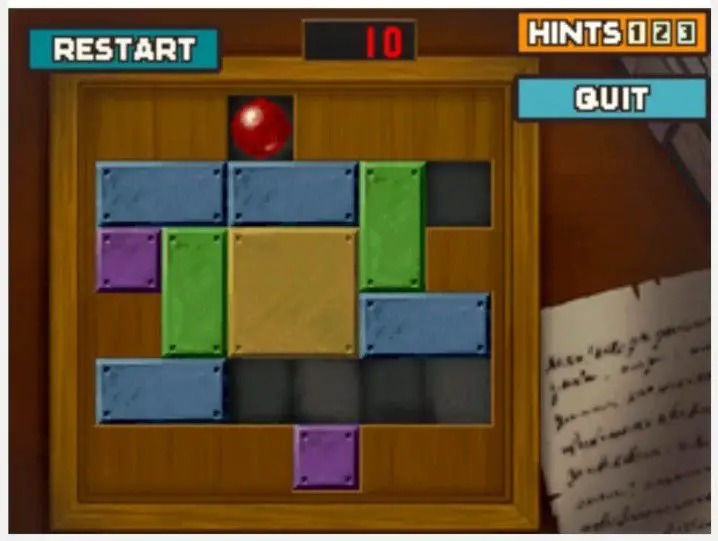
Move the blue block on the bottom row all the way to the left.
Step 11
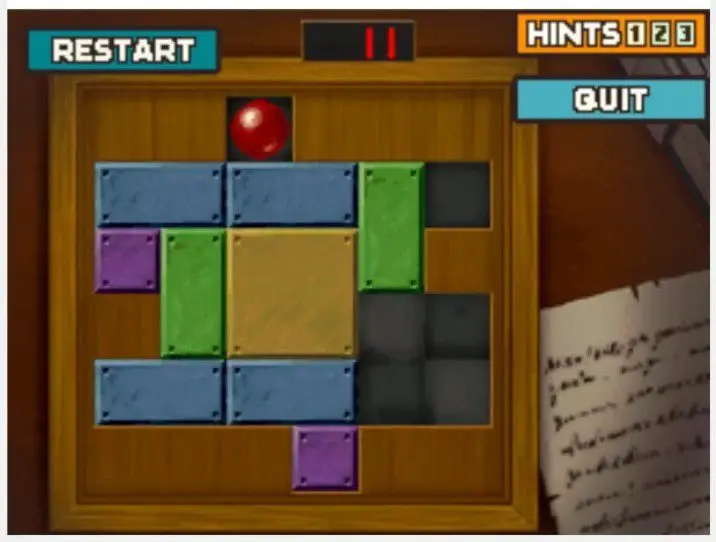
Move the blue block on the third row down and to the left.
Step 12
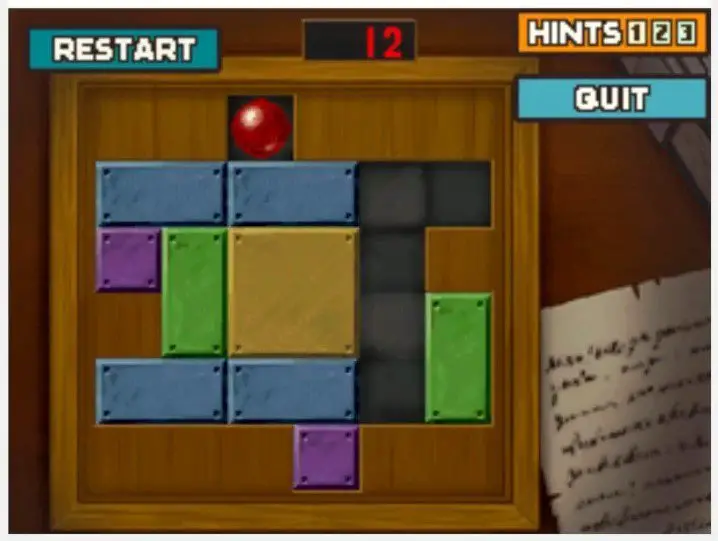
Move the rightmost green block down and to the left, into the indentation on the bottom-right.
Step 13
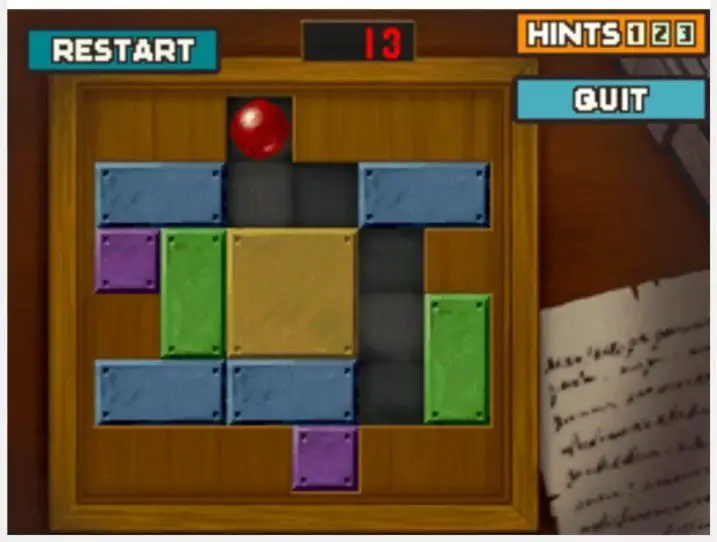
Move the top-right blue block all the way to the right.
Step 14
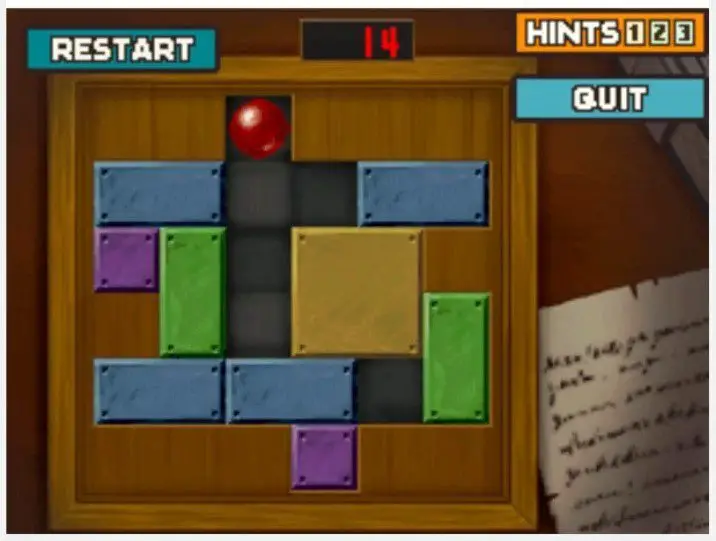
Move the yellow block to the right.
Step 15
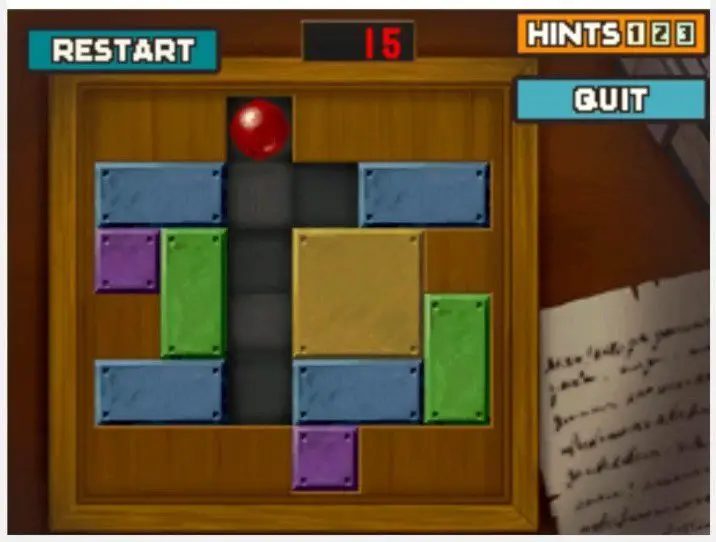
Move the blue block on the bottom-right to the right.
Step 16
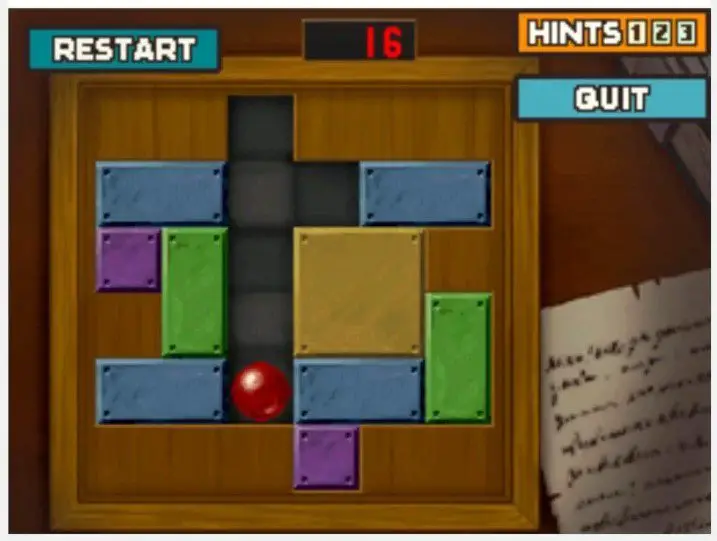
Move the red ball all the way down.
Step 17
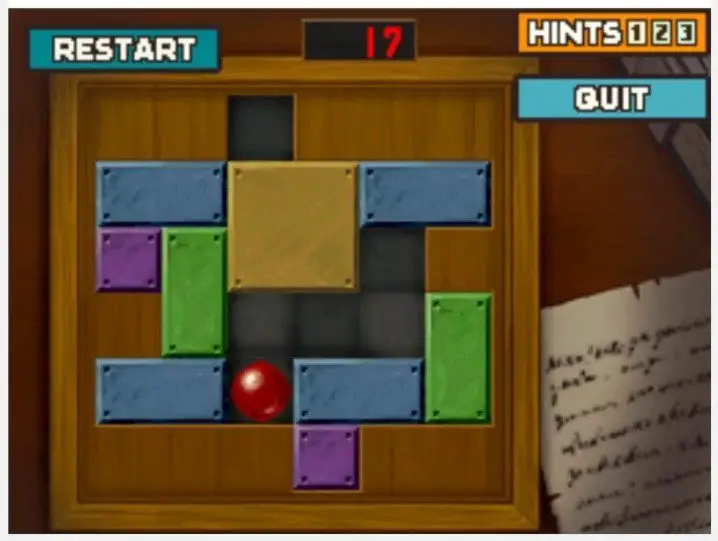
Move the yellow block to the left and up.
Step 18
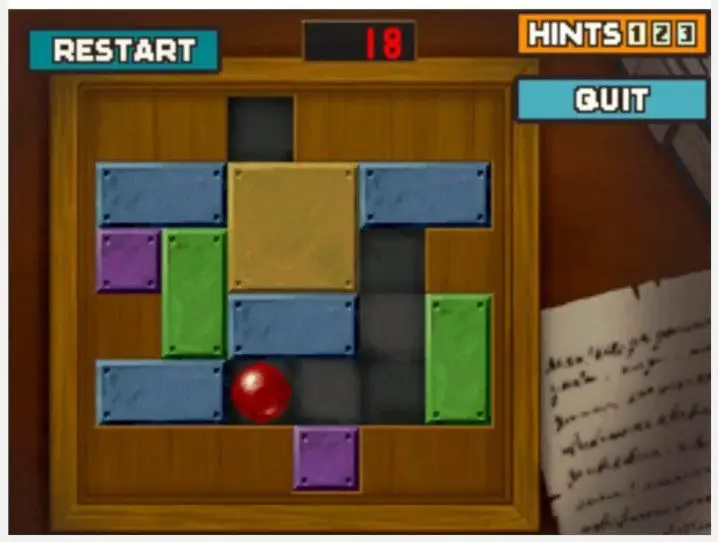
Move the bottom-right blue block up and to the left, underneath the yellow block.
Step 19
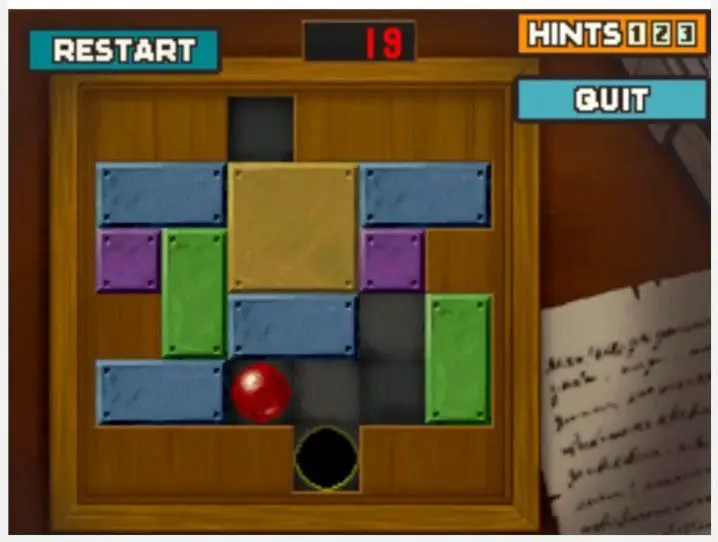
Move the purple block in the goal hole up and to the right.
Step 20
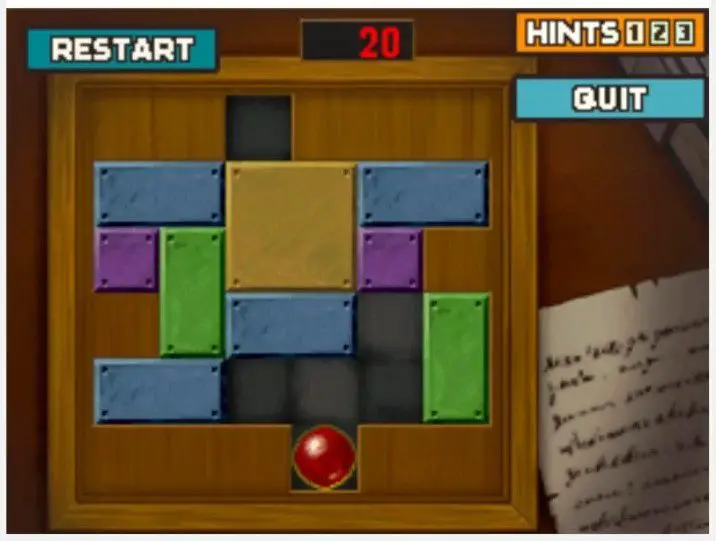
Move the red ball into the goal hole.
How did you find this guide? Let me know in the comments.
Where to find Puzzle 120?
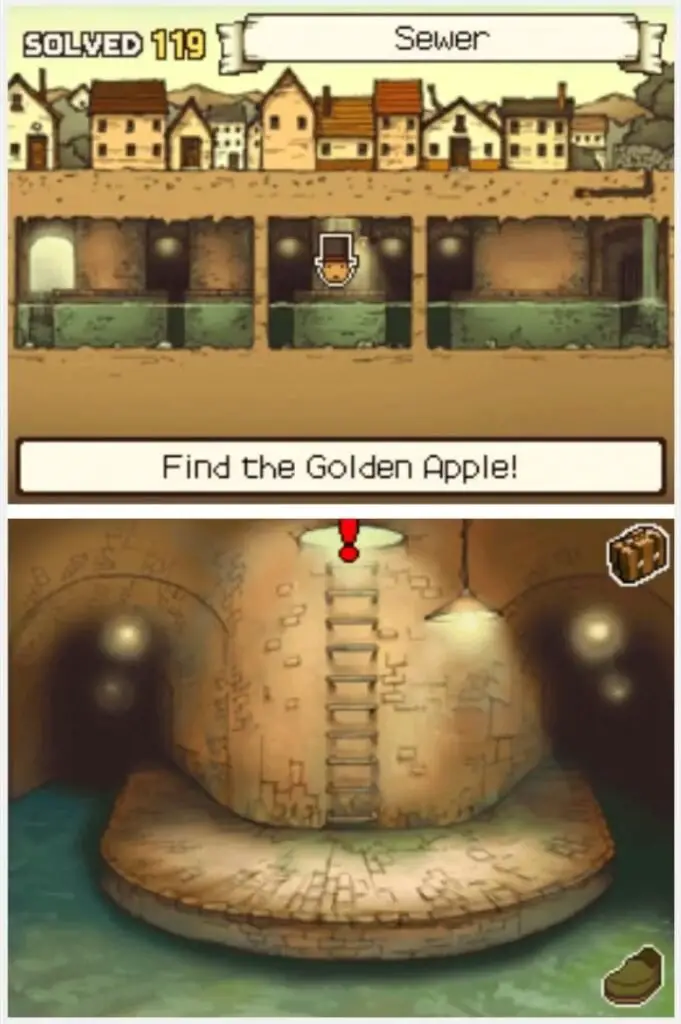
Puzzle 120 – Get the Ball Out! 3 is found by interacting with the open sewer grate in the Sewer.
How many picarats is Puzzle 120 worth?
Puzzle 120 is worth 60 picarats.
How to solve Puzzle 120?
Puzzle 120 is the third iteration of the Get the Ball Out! series of puzzles.
You will need to get the red ball to the exit hole by moving different sized blocks around with limited space.
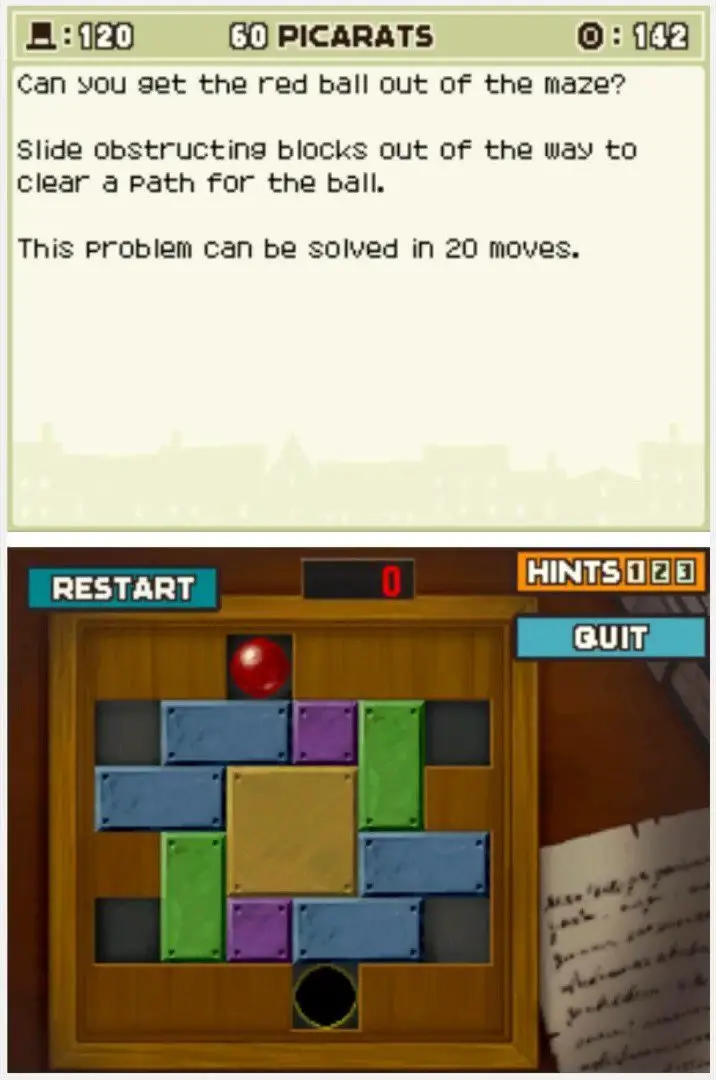
Can you get the red ball out of the maze?
Slide obstructing blocks out of the way to clear a path for the ball.
This problem can be solved in 20 moves.
What are the hints for Puzzle 120?
Hint 1
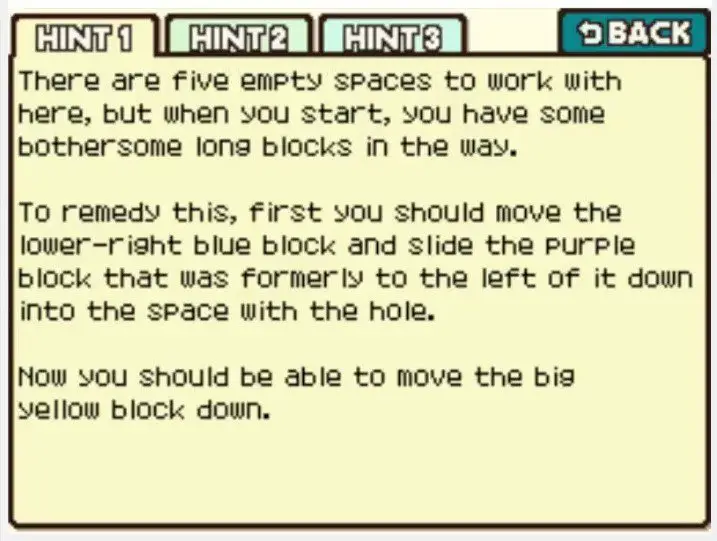
There are five empty spaces to work with here, but when you start, you have some bothersome long blocks in the way.
To remedy this, first you should move the lower-right blue block and slide the purple block formerly to the left of it down into the space with the hole.
Now you should be able to move the big yellow block down.
Hint 2
Move the purple block in the top row down into the space you created from moving down the yellow, then line the two blue blocks up end to end in the row directly under the red ball.
Next, slide the purple block below the two blue blocks over to the far left so that the green block in the lower left and the big yellow block can move back up.
Hint 3
Align the two blue blocks in the lower right so that they sit end to end on the far-left side of the row directly above the hole. Then drop the green block in the upper right down. Now all you need to do is create a path for the ball to use to get to the hole.
You should have an easy time of it.
Puzzle 120 Answer
Step 1

Move the blue block on the bottom row to the right.
Step 2

Move the purple block on the bottom row into the exit hole square.
Step 3

Move the yellow block down.
Step 4

Move the purple block from the top row down.
Step 5

Move the blue block on the top row to the right.
Step 6

Move the blue block on the second row upwards.
Step 7

Move the purple block on the second row all the way to the left.
Step 8

Move the left-most green block up.
Step 9

Move the yellow block up.
Step 10

Move the blue block on the bottom row all the way to the left.
Step 11

Move the blue block on the third row down and to the left.
Step 12

Move the rightmost green block down and to the left, into the indentation on the bottom-right.
Step 13

Move the top-right blue block all the way to the right.
Step 14

Move the yellow block to the right.
Step 15

Move the blue block on the bottom-right to the right.
Step 16

Move the red ball all the way down.
Step 17

Move the yellow block to the left and up.
Step 18

Move the bottom-right blue block up and to the left, underneath the yellow block.
Step 19

Move the purple block in the goal hole up and to the right.
Step 20

Move the red ball into the goal hole.
How did you find this guide? Let me know in the comments.
